If you’re wondering how to write an entertainment rider, you’re in the right place. This detailed and often overlooked document is the unsung hero of every live performance. While many people think of a rider as a list of a performer’s crazy demands, it’s actually a non-negotiable part of the contract that ensures everything runs smoothly.
Think of it as a comprehensive blueprint that covers everything from a performer’s technical needs on stage to their comfort off stage. A well-written rider is the ultimate tool for clear communication, helping to prevent last-minute chaos, technical hiccups, and even awkward misunderstandings.
This guide will walk you through the essential components of a great rider, helping you draft one that guarantees a flawless and stress-free event for everyone involved.
Deconstructing the Rider: Two Sides of the Same Coin
At its core, a rider is a two-part document, each serving a distinct but equally vital purpose. First, there’s the Technical Rider, which is the detailed blueprint for the stage itself. This section lays out everything the performer needs to put on the show, from the specific sound and lighting requirements to a detailed stage plot and input list.
It’s a direct line of communication with the event’s production team, ensuring they have all the equipment and setup information well in advance. Then, you have the Hospitality Rider. This is the more human-centric side of the contract, focusing on the comfort and well-being of the performers and their crew.
It covers everything from backstage amenities and specific food and beverage requests to travel, accommodation, and personal security. Together, these two documents form a complete entertainment rider, covering all the bases for a successful event from start to finish.
The Blueprint for Success: Crafting the Technical Rider
Now, let’s get into the bones of the operation: the technical rider. This isn’t just a wish list; it’s the instruction manual for the production crew. Think of it as the conversation you’d have with the sound and lighting teams if they were sitting right in front of you—only, it’s all on paper.
The Stage Plot: Visualizing the Setup
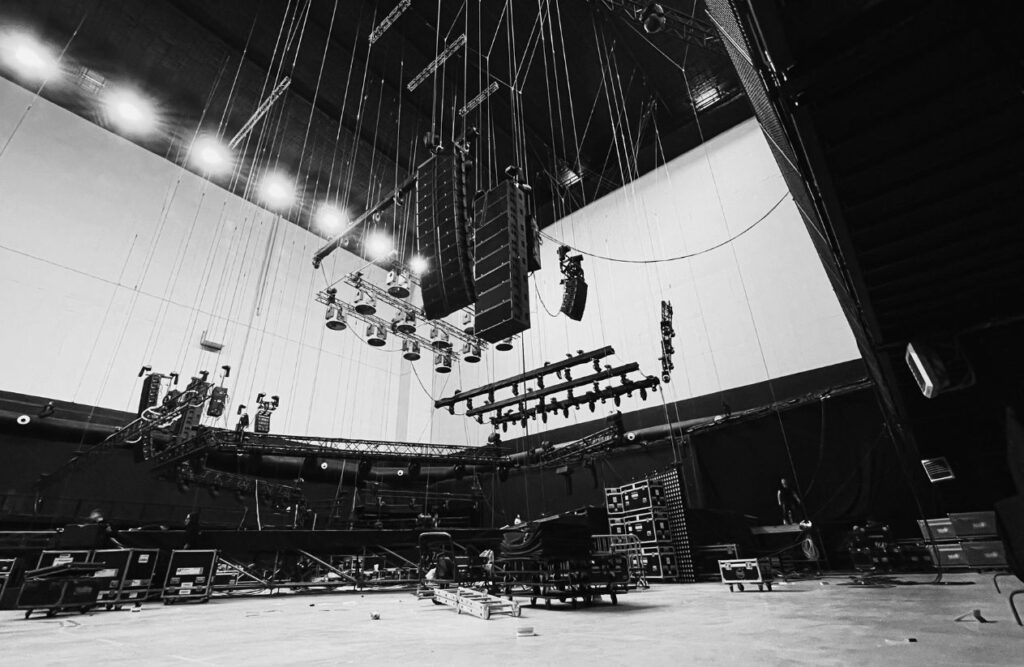
First up is the stage plot, which is essentially a floor plan of the stage. This is a visual diagram that shows exactly where every person and piece of equipment goes. Don’t skip this! A good stage plot maps out where each band member stands, where the drum kit is positioned, and where the amplifiers and monitors should be placed.
It also helps the crew understand where to run power cables and instrument lines to keep the stage clean, safe, and ready for action.
The Input List: Communicating with the Sound Engineer
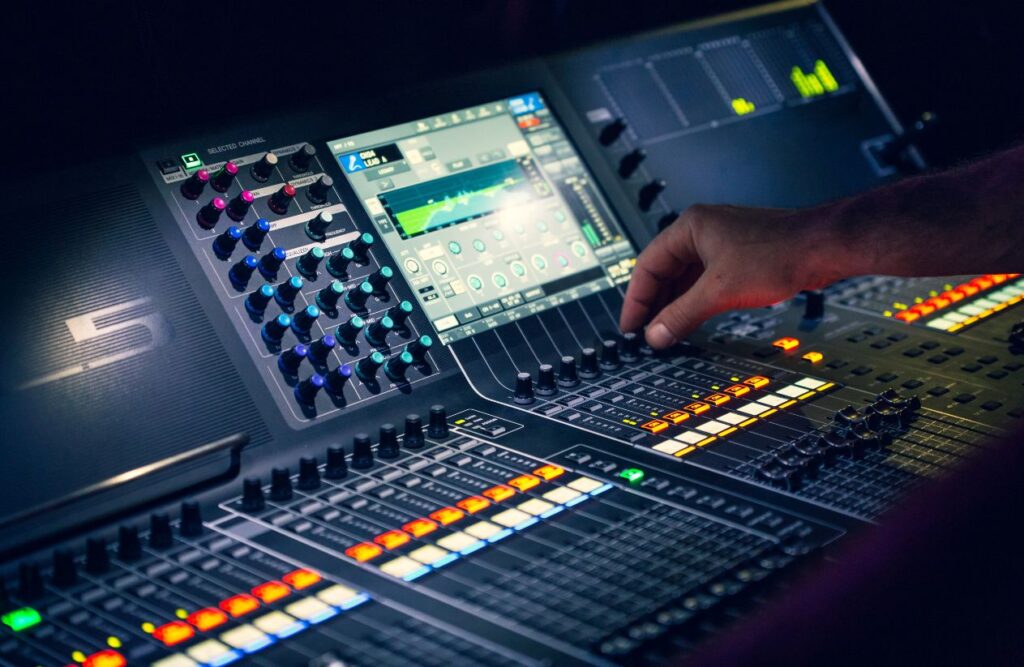
Next, you need an input list. This is a simple but critical spreadsheet-style list that tells the sound engineer exactly what audio signals are coming from the stage. For every microphone, DI box, or instrument output, you need to specify what it is, where it’s located, and what kind of channel it needs on the mixing board.
This is where you’ll also request things like phantom power for condenser mics or specific effects for a guitar or vocal channel.
Lighting and Visuals: Setting the Mood
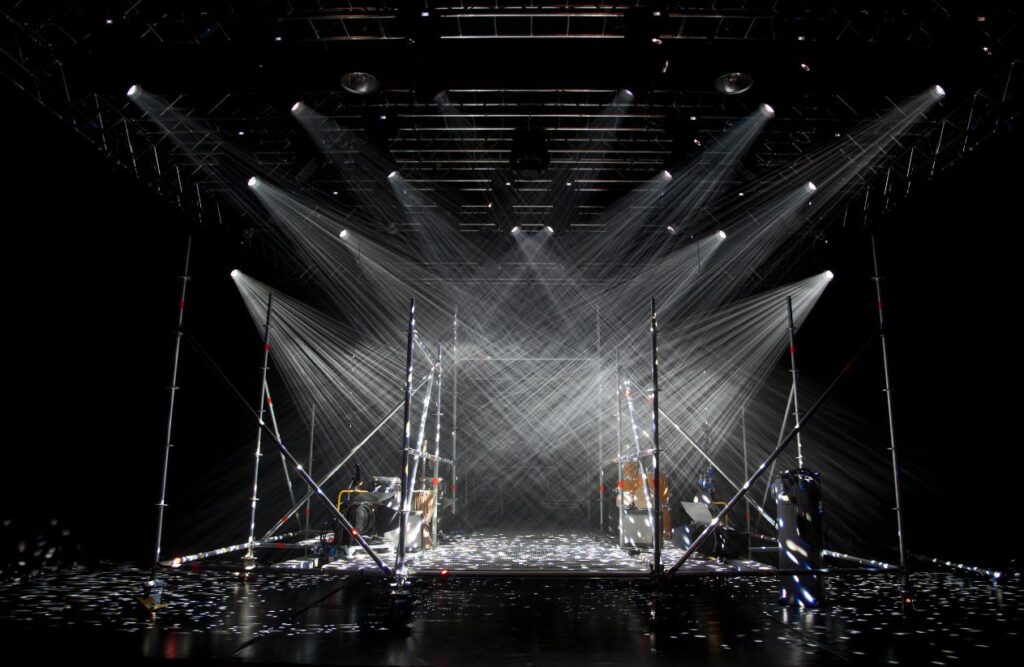
This part of the rider is all about creating the right atmosphere. Here, you’ll communicate your desired lighting cues, colors, and any specific visual effects you want to include. If you’re bringing your own projectors or visual content, you’ll need to list all the AV equipment you’ll be using and any screen requirements the venue needs to provide.
This helps the lighting director and visual tech team prepare to make your show look its best.
Power and Electrical: The Lifeblood of the Show
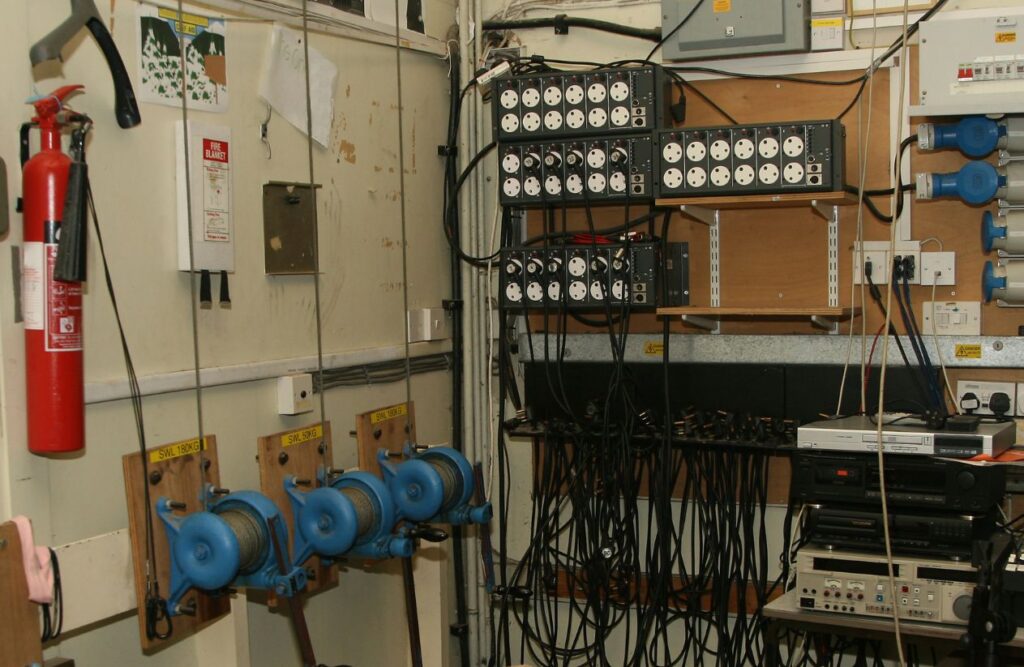
Finally, don’t forget the electricity! You’ll need to specify your power needs, including voltage, amperage, and the number of electrical outlets required for your gear. This isn’t a request; it’s a safety and functionality issue.
Detailing this in advance helps the crew set up a power distribution that’s both safe and reliable, preventing blown fuses and mid-show blackouts. It also allows them to place outlets in logical, accessible locations.
Beyond the Stage: The Hospitality Rider Essentials
While the technical rider is all about the show itself, the hospitality rider is focused on the people behind it. This part of the entertainment rider is crucial for keeping everyone happy, healthy, and focused on delivering a fantastic performance. Remember, a well-fed and well-rested team is a high-performing team.
Dressing Room and Backstage Amenities
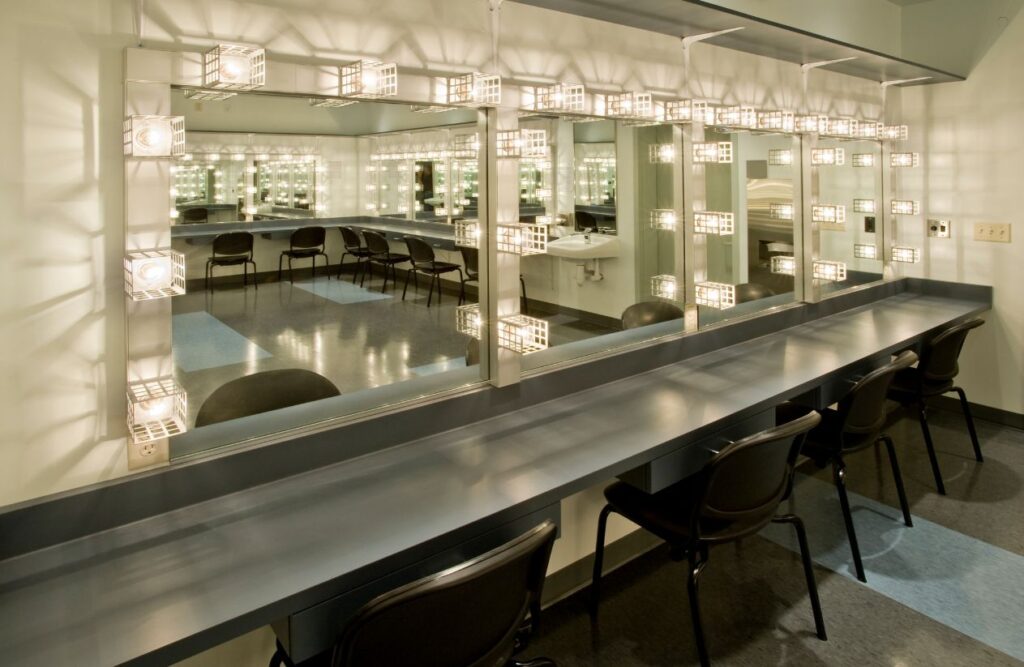
The dressing room is more than just a place to change clothes; it’s a sanctuary before and after a performance. Be specific about your needs here. The “must-haves” usually include a private space, fresh towels, a well-lit mirror, and clean facilities. You can also make customizable requests, like a comfortable seating area for the team to relax or even specific lighting for a certain mood.
Food and Beverage
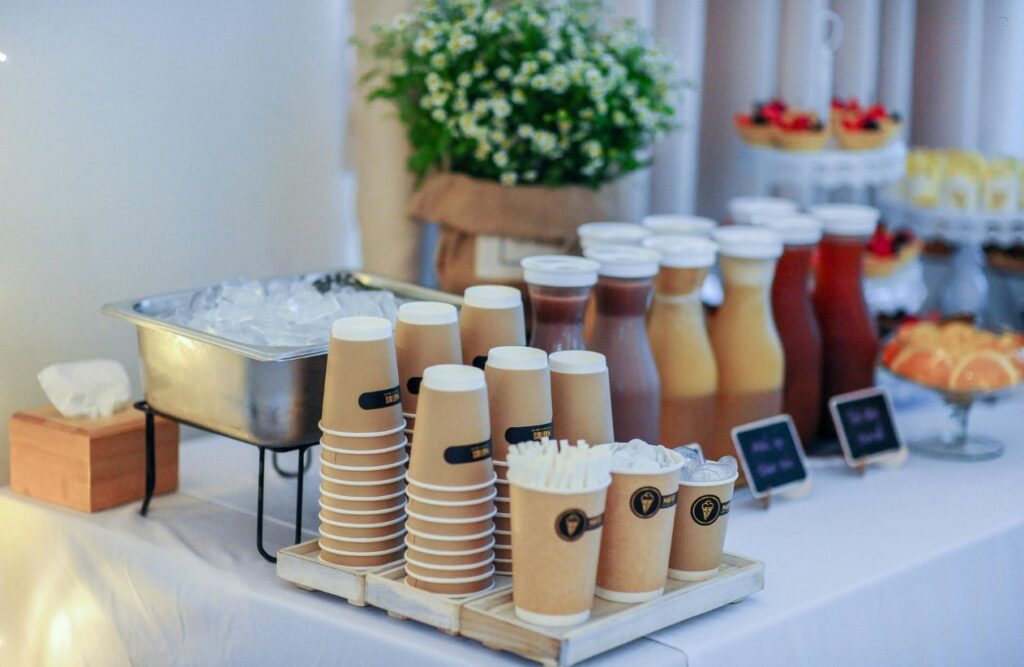
Food and drink are key to keeping energy levels up. This section should detail your meal preferences and any specific dietary restrictions. Be clear about allergies (gluten, nuts, etc.), as well as any requests for vegan, vegetarian, or other special dietary needs.
It’s also important to list your beverage requests, whether it’s a variety of bottled water, coffee, or fresh juices. The more specific you are, the less guesswork there is for the venue’s catering staff.
Travel and Accommodation

Nobody performs well when they’re exhausted from a tough journey. This part of the rider ensures a smooth travel experience. Specify your required transportation, like vans to carry the band and equipment, or a car service for key personnel.
Be clear about your hotel preferences, including the number and type of rooms needed, as well as any special requests like a late checkout.
Security and Special Requests

Depending on the scale of the event, security might be a necessity. Use this section to outline any mandatory security protocols you need, such as backstage access control or crowd management.
This is also the place for any specific needs or personal requests that don’t fit elsewhere, such as a designated quiet room or a specific type of furniture.
The Pro’s Approach: Writing a Rider That Gets You What You Need

Okay, you know what a rider contains, but what’s the secret to writing one that actually works for you instead of just being a list of unfulfilled requests? It’s all in the execution. The way you write and present your rider can make all the difference in how it’s received and what you actually get.
Clarity is King
This is probably the most important rule. Don’t use vague or ambiguous language. Instead of asking for “a good sound system,” specify exactly what you need, like “a 32-channel digital mixing console with a minimum of 4 monitor mixes.” Instead of “some water,” write “24 bottles of room-temperature bottled water, please.”
Clear, simple, and unambiguous language leaves no room for misinterpretation or guesswork, making life easier for everyone.
Be Realistic, Not Ridiculous
It’s tempting to ask for everything under the sun, but a professional knows the difference between a “need” and a “want.” An air-conditioned dressing room might be a need in a hot climate, but a bowl of M&Ms with all the brown ones removed is a want.
Your rider should focus on the items that are genuinely essential for the success of your performance and the well-being of your team. Save the outlandish requests for when you’re a household name.
Structure and Formatting
Remember, the venue’s production manager and crew are busy people. A messy, poorly formatted rider is likely to be overlooked or skimmed. Organize your document with clear headings, subheadings, and bullet points.
Use bold text to highlight critical information. The goal is to make your rider a quick, easy-to-reference document that a person can scan in a few minutes and get all the information they need.
The Importance of Communication
A rider isn’t a magical document that works on its own. You need to communicate. Send the rider to the event organizer or venue well in advance of the event—at least a few weeks out. This gives them time to review it, ask questions, and secure any equipment or items they might not have on hand.
Follow up to confirm they’ve received it and understood the requirements. A little proactive communication can prevent a lot of last-minute stress.
Common Mistakes That Can Derail Your Event
Even with a solid understanding of a rider’s components, it’s easy to make a few common mistakes that can completely throw off your event. Being aware of these pitfalls is just as important as knowing how to write the rider itself.
The “One-Size-Fits-All” Trap
A generic, copy-and-pasted rider is a lazy solution that will almost always fail you. Every venue has a different layout, different equipment, and different capabilities. The needs of a solo acoustic musician are a world away from a five-piece rock band.
Using a one-size-fits-all approach means you’ll either be requesting things the venue can’t provide, or worse, you’ll be missing out on critical items you actually need. Always customize your rider for each specific event.
Vague Demands
Remember what we said about clarity? This is where that really matters. Asking for “a good sound system” is not only unhelpful, it’s a sign of inexperience. The venue’s idea of a “good” system might be completely different from yours.
This vague request leaves everything up to interpretation, which can lead to last-minute frustration and an audible drop in performance quality. Be precise and specific in all your requests.
Last-Minute Requests
A rider should be treated as part of the contract and submitted with plenty of time for the venue to prepare. Handing over your rider a day or two before the show is a surefire way to have your requests denied.
Venues need time to book specific gear, order catering, and arrange for extra staff if needed. Respect their timeline and they will be much more likely to respect your requests.
Overlooking the Little Details
Sometimes it’s the smallest things that can make the biggest difference. A missing towel in the dressing room or a cold meal for the band might seem trivial to an event organizer, but they can significantly impact a performer’s mood and energy.
These small oversights can build up and lead to a less-than-stellar performance. Make sure to double-check even the most minor details on your rider.
Your DIY Rider: A Simple Template to Get Started
Now that you know what goes into a great rider and what mistakes to avoid, it’s time to put it all together. You don’t need to be a design expert to create an effective rider; you just need to be organized and clear. Here’s a simple, customizable template to help you get started.
I. Technical Rider
- Stage Plot: A simple diagram showing the location of all musicians and equipment. You can even draw this by hand and scan it if you need to!
- Input List: A table with three columns: “Channel/Input,” “Instrument/Mic,” and “Notes” (for things like phantom power or specific effects).
- Equipment List: A list of all your backline equipment (amps, drums, etc.) and what you’re bringing versus what you need from the venue.
- Lighting and Visuals: A bulleted list of your lighting preferences and any video/projection needs.
II. Hospitality Rider
- Contact Information: Name and phone number of your tour manager or main point of contact.
- Dressing Room: A list of essentials (towels, mirrors, water) and any specific requests.
- Food and Beverage: A clear list of meal requests, including any dietary restrictions or allergies.
- Travel and Accommodation: Your travel arrangements and any hotel needs.
- Security: A bulleted list of any required security protocols.
This template is a fantastic starting point. You can easily adapt it for different events—for a solo act, you might only need a small section for the technical rider, while a full band will require a much more detailed breakdown. The key is to fill out each section with specific, unambiguous information tailored to your performance.
Conclusion: A Small Document with a Big Impact
So, there you have it. The entertainment rider may seem like a minor detail in the grand scheme of an event, but it’s one of the most powerful tools you have. By taking the time to craft a clear, customized, and well-organized rider, you’re not just making requests—you’re proactively preventing problems, communicating like a pro, and setting the stage for a truly flawless performance.
It’s the difference between a night of stress and a night of success. A great rider ensures everyone is on the same page, from the sound engineer to the catering staff, allowing the focus to remain where it should be: on the art and the audience.
This small document can truly have a massive impact on your reputation and the overall experience of your show.
Also check our article: How Much Does It Cost to Hire a Comedian for Private Events?


